Fly More, Spend Less: Free Shipping On Orders Over $100
Reflex Wings for Paramotoring: Proven Easy P2 to PPG Guide
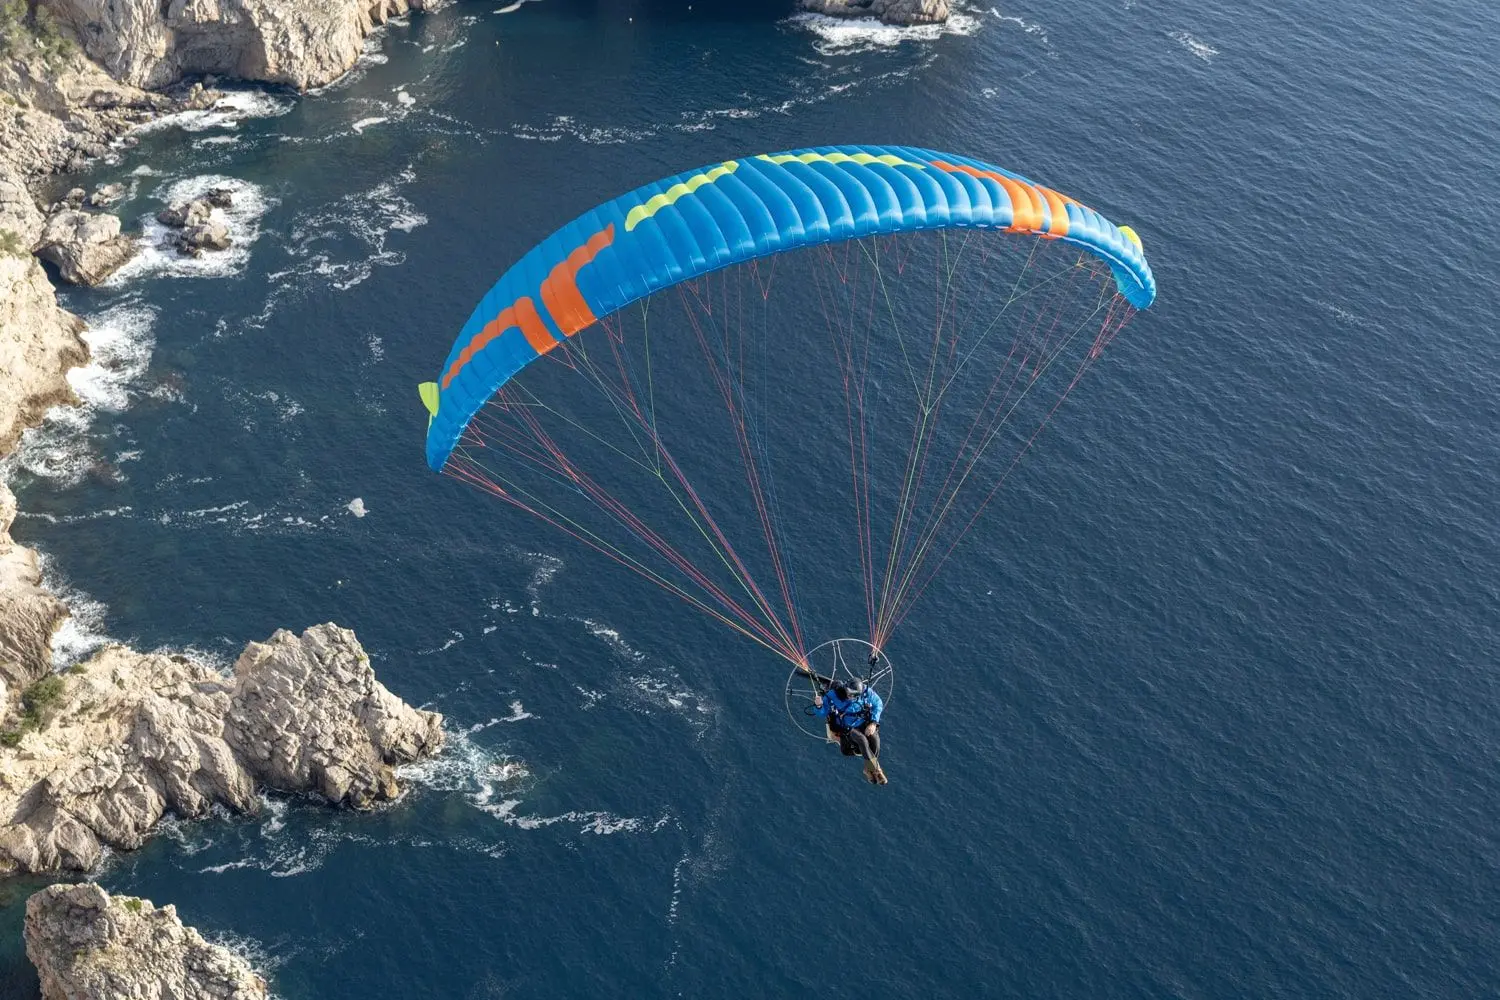
Transitioning to Power Paragliding (PPG): What a P2 Pilot Needs to Know About Reflex Wings Reflex wings for paramotoring represent
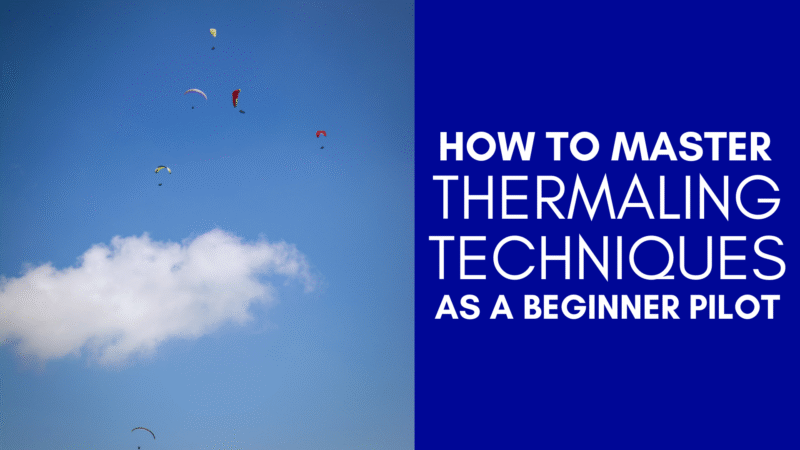
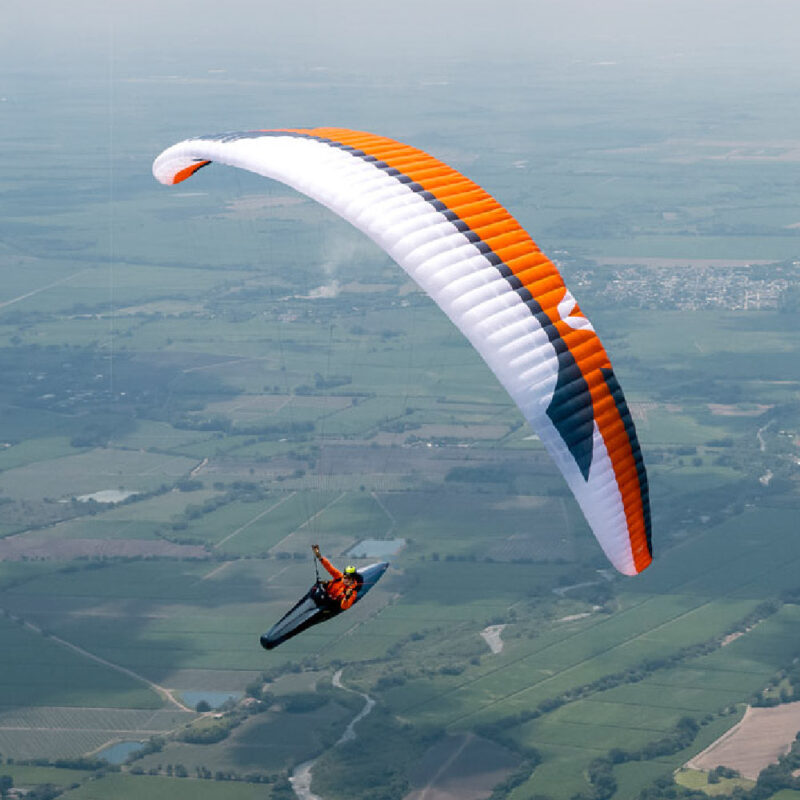
Thermaling is one of the most exciting and essential skills in paragliding. It allows pilots to harness the power of rising air currents, gaining altitude and extending their flights. For beginner pilots, mastering thermaling can be both a thrilling and challenging milestone. Understanding the mechanics of thermals, reading the landscape, and refining your technique are key steps to becoming a confident thermal pilot.
In this guide, we’ll break down the basics of thermaling, provide actionable tips, and share strategies to help beginner pilots develop their skills and enjoy longer, more rewarding flights.
Thermaling is the process of using rising columns of warm air, called thermals, to gain altitude while flying. Thermals form when the sun heats the ground unevenly, causing pockets of warm air to rise. These rising air currents can lift a paraglider thousands of feet into the sky, offering extended flight time and access to cross-country opportunities.
Before you can master thermaling, it’s important to understand how thermals form and behave.
How Thermals Form:
Identifying Thermal Triggers:
Certain landscape features are more likely to produce thermals. Look for:

Step 1: Locate a Thermal
– Observe Nature: Birds like hawks and vultures often circle in thermals. Clouds (especially cumulus) can also indicate thermal activity.
– Feel the Air: Changes in wing behavior, such as a slight lift on one side or a sudden surge, can signal entering a thermal.
– Watch for Dust Devils: Dust devils are air movements you want to stay away from.
Step 2: Enter the Thermal
– When you detect a thermal, turn into it smoothly.
– Keep your movements coordinated to avoid losing lift or causing unnecessary drag.
Step 3: Center the Thermal
– Listen to Your Variometer: A steady beep indicates rising air, while silence or descending tones mean you’re leaving the lift.
– Adjust Your Turns: If the lift weakens, adjust your circle to stay within the core of the thermal. Tighten your turn when the lift strengthens and loosen it when it weakens.
– Focus on the Core: The strongest lift is usually in the center of the thermal. Aim to circle within this area.
Step 4: Stay Balanced
– Use weight shifting and gentle brake inputs to maintain a smooth turn.
– Avoid excessive brake pressure, which can stall the wing or cause uneven turning.
Once you’re comfortable with the basics, you can refine your skills further:
– Dynamic Turns: Use tighter or wider turns depending on the thermal’s strength and diameter.
– Reading Clouds: Learn to interpret cumulus clouds to predict where thermals will form and how they’ll evolve.
– Crosswind Thermaling: Practice thermaling in crosswind conditions, which requires careful adjustments to stay within the lift.
When sharing thermals with other pilots, maintaining safe separation and following established right-of-way rules is essential.
The first pilot to enter a thermal establishes the direction of turn, and all subsequent pilots must circle in the same direction to avoid mid-air collisions.
Pilots should maintain adequate spacing – typically staying at least one wingspan away from others – and avoid flying directly above another pilot in case of sudden altitude loss.
Mastering thermaling is a transformative skill for any paraglider. It allows you to harness the power of nature to soar higher and fly longer, opening up a world of possibilities for cross-country adventures and extended flights. As a beginner, focus on building a strong foundation, practicing consistently, and learning from your experiences.
With patience, persistence, and the tips in this guide, you’ll soon find yourself effortlessly climbing thermals and enjoying the incredible freedom of the skies. Fly safe, stay curious, and embrace the journey of becoming a skilled thermal pilot!
What early signs help me spot a thermal before I start circling?
Look for visual cues such as cumulus clouds, circling birds, other pilots locking their vario into lift, or ground features like sun-warmed ridges or dark terrain. These indicators often mark the thermal’s source.
How do I enter and stay in a thermal as a beginner?
When you detect lift—via a surge in vario or glider pitch—smoothly lean into a coordinated turn, applying inside brake gently rather than abrupt control. Aim for a bank angle around 30–45°, and always match the circling direction of others if joining a thermal group.
How can I centre a thermal and improve climb efficiency?
Feel the pressure: if one side of your circle climbs better, shift your turning center gradually toward that strong side. Use a stable circle, constant subtle weighting or brake adjustment, and rely on both your vario and body/wing cues. This helps you home in on the thermal core and maintain consistent lift.
| Weight | 10 lbs |
|---|---|
| Size | 105, 115, 135, 75, 85, 95 |
| Color | Dusky Orange, Pacific Lime, Sunflower |
| Weight | 10 lbs |
|---|---|
| Size | 70+, 85+, 95+ |
| Color | Iced Cherry, Midnight Sun |
| Weight | 10 lbs |
|---|---|
| Size | 105, 115, 125, 75, 85, 95 |
| Color | Blueberry, Frosted Orange, Tropical Lime |
| Weight | 10 lbs |
|---|---|
| Size | 105+ (M), 120 (L), 70+ (XXS), 80+ (XS), 95+ (S) |
| Color | Matcha Lime, Ocean Bloom, Orange Grape, Sparkling Red |
Transitioning to Power Paragliding (PPG): What a P2 Pilot Needs to Know About Reflex Wings Reflex wings for paramotoring represent

The Ultimate Checklist Before Visiting A New Site New Terrain Can Be So Exciting! There’s nothing quite like the feeling

Hiking Tips for Cross-Country Paragliding Cross-country paragliding is a thrilling experience that can take you to new heights, both literally
No account yet?
Create an Account