Fly More, Spend Less: Free Shipping On Orders Over $100
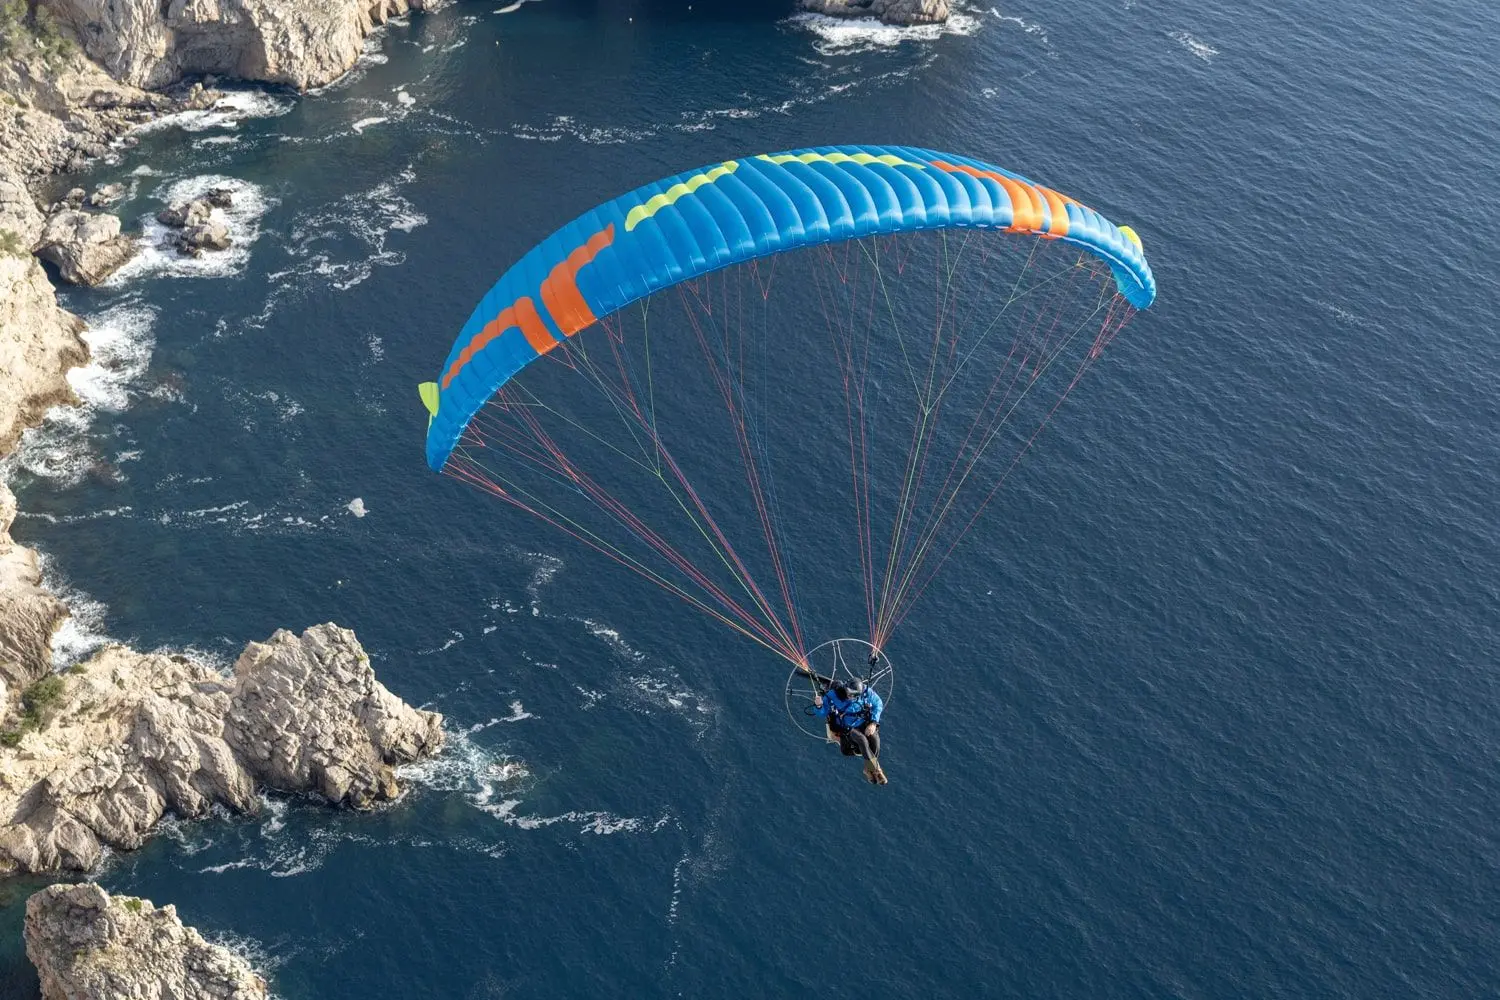
Reflex Wings for Paramotoring: Proven Easy P2 to PPG Guide
Transitioning to Power Paragliding (PPG): What a P2 Pilot Needs to Know About Reflex Wings Reflex wings for paramotoring represent
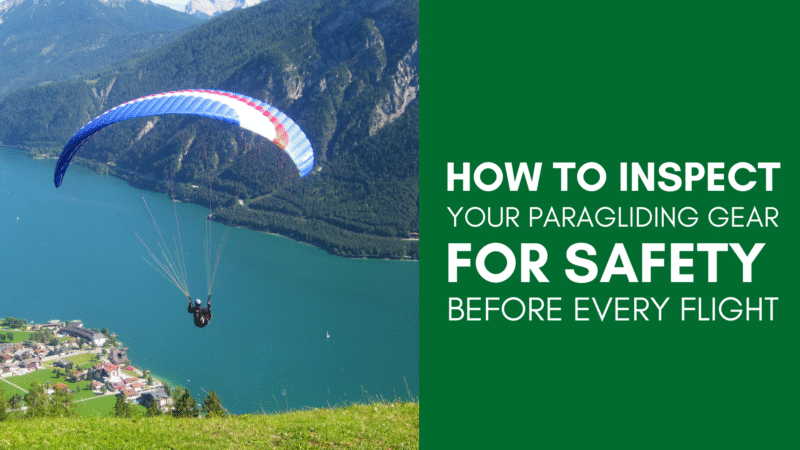
As a paraglider, your gear is your lifeline in the air. Making sure your equipment is in top-notch condition before every flight is essential for safety, performance, and peace of mind. Regular gear inspections not only minimize the risk of equipment failure but also extend the lifespan of your gear, saving you money in the long run.
In this guide, I’ll walk you through a step-by-step process to inspect your paragliding gear, from the wing and harness to the helmet and reserve parachute, ensuring that you’re fully prepared for a safe and enjoyable flight.
Paragliding gear undergoes significant stress during flights. Over time, wear and tear can compromise its performance. A thorough pre-flight inspection helps to:
Your harness plays a dual role in providing comfort and safety. A compromised harness can jeopardize both.
Steps to Inspect Your Harness:
Your reserve parachute is a critical backup system that you hope never to use but must always be ready to deploy.
Steps to Inspect Your Reserve Parachute:

Your helmet is your primary protection against head injuries, making it essential to keep it in optimal condition.
Steps to Inspect Your Helmet:
Variometer and GPS:
Carabiners:
Clothing and Gloves:
Before every flight, conduct a final check to ensure everything is ready:
Inspecting your paragliding gear before every flight is a non-negotiable routine for any pilot committed to safety. By developing a habit of thorough, systematic checks, you not only reduce the risk of accidents but also enhance your confidence and enjoyment in the air.
Remember, your gear is your partner in flight, treat it with care, and it will reward you with countless safe and thrilling adventures. Fly responsibly, and always prioritize safety above all else.
| Weight | 10 lbs |
|---|---|
| Size | 105, 115, 135, 75, 85, 95 |
| Color | Dusky Orange, Pacific Lime, Sunflower |
| Weight | 10 lbs |
|---|---|
| Size | 70+, 85+, 95+ |
| Color | Iced Cherry, Midnight Sun |
| Weight | 10 lbs |
|---|---|
| Size | 105, 115, 125, 75, 85, 95 |
| Color | Blueberry, Frosted Orange, Tropical Lime |
| Weight | 10 lbs |
|---|---|
| Size | 105+ (M), 120 (L), 70+ (XXS), 80+ (XS), 95+ (S) |
| Color | Matcha Lime, Ocean Bloom, Orange Grape, Sparkling Red |
Transitioning to Power Paragliding (PPG): What a P2 Pilot Needs to Know About Reflex Wings Reflex wings for paramotoring represent

The Ultimate Checklist Before Visiting A New Site New Terrain Can Be So Exciting! There’s nothing quite like the feeling

Hiking Tips for Cross-Country Paragliding Cross-country paragliding is a thrilling experience that can take you to new heights, both literally
No account yet?
Create an Account